
In this short tutorial, we’ll help you create a ubuntu bootable usb stick, write the ISO to the usb drive and install ubuntu.
Prerequisites
Before starting, be sure you have :
- Your USB drive is a 4GB or larger.
- Your OS is windows XP or later.
Download Ubuntu ISO file
Download ubuntu ISO file to your local machine. Don’t download the ISO image directly to the USB stick!
Take the LTS version of Ubuntu. (LTS : Long Term Support)
Download Rufus

You’ll need a tool to write the ISO file to the USB drive, Rufus is what you need. It is a free and open source USB stick writing tool.
Download Rufus on your local machine.

Write ISO file to the USB stick
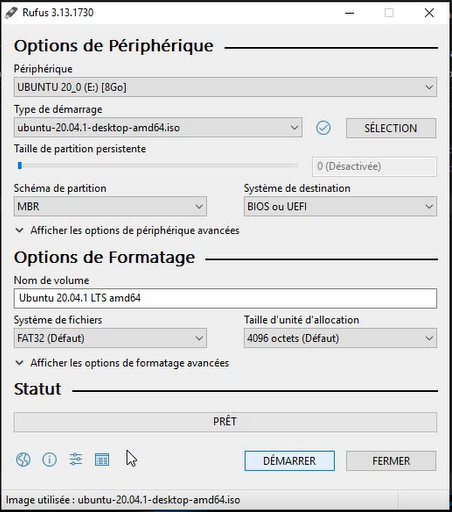
- Launch Rufus.
- Select your USB device.
- Select the ISO file by clicking the button “selection”.
- give a name to your volume.
- Select file system and cluster size.
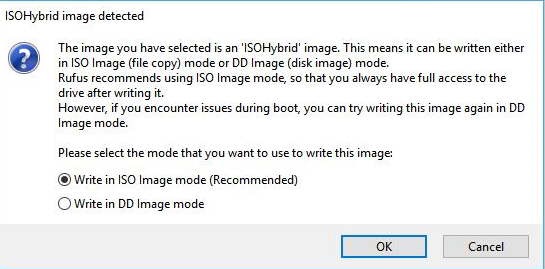
Keep the first option selected :” Write in ISO Image mode (Recommanded)“
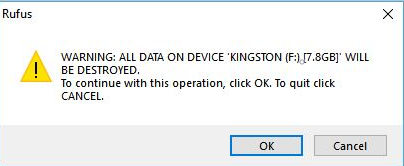
This warns you that your USB drive will be completely formatted. Click Ok if you are sure to continue.
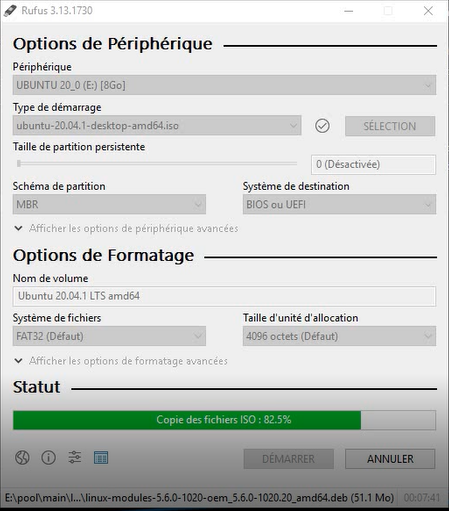
Start writing to the disk.
Install Ubuntu
- Insert your USB drive to your computer
- show boot menu (F12)
- Select USB device and start install
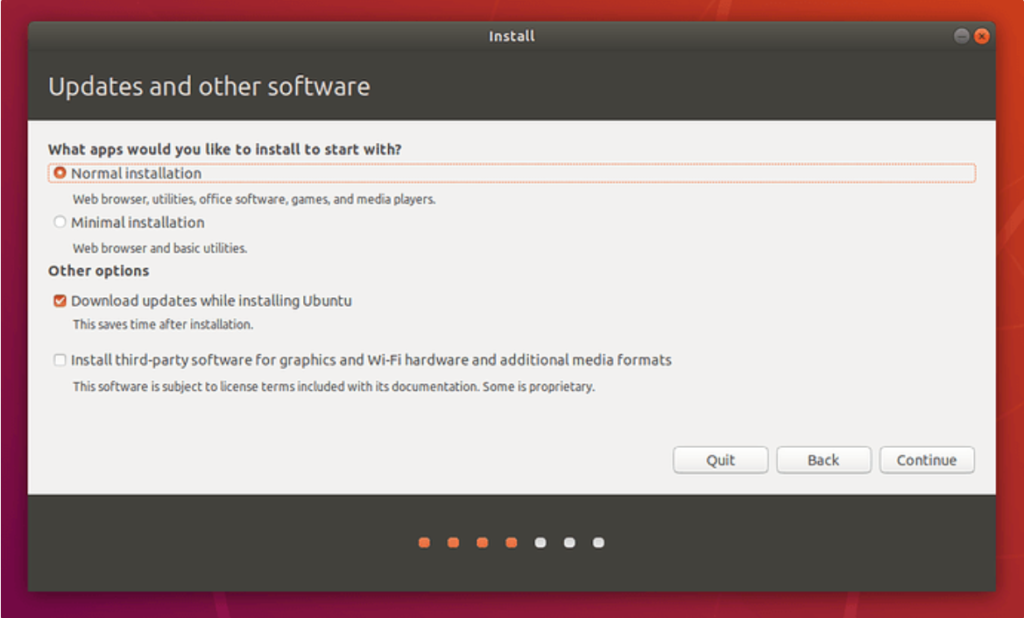
- Prepare to install Ubuntu
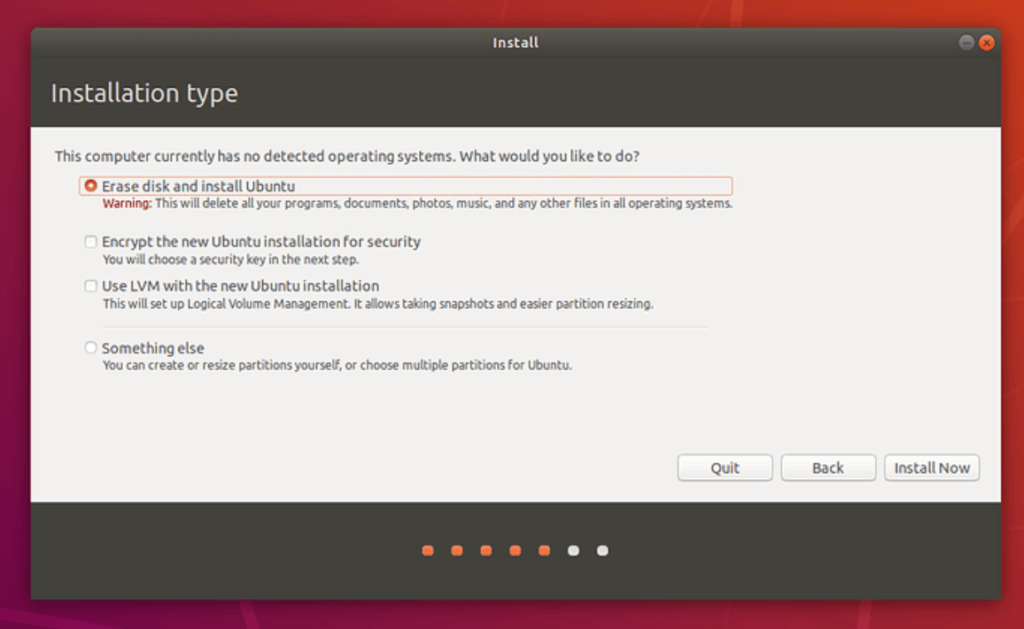
- Allocate drive space
- Start installation

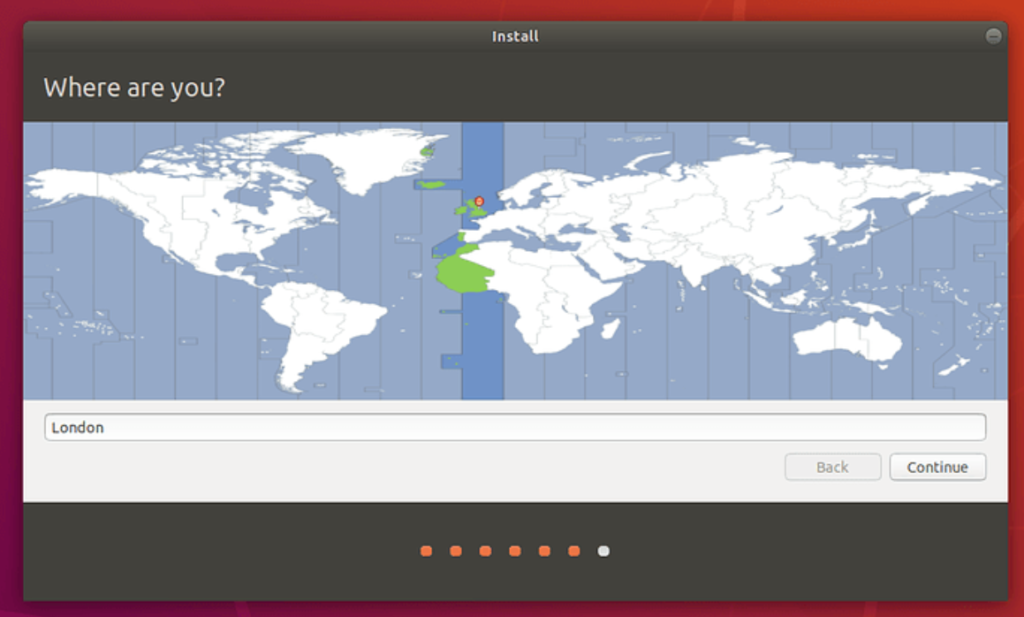
- Select your location
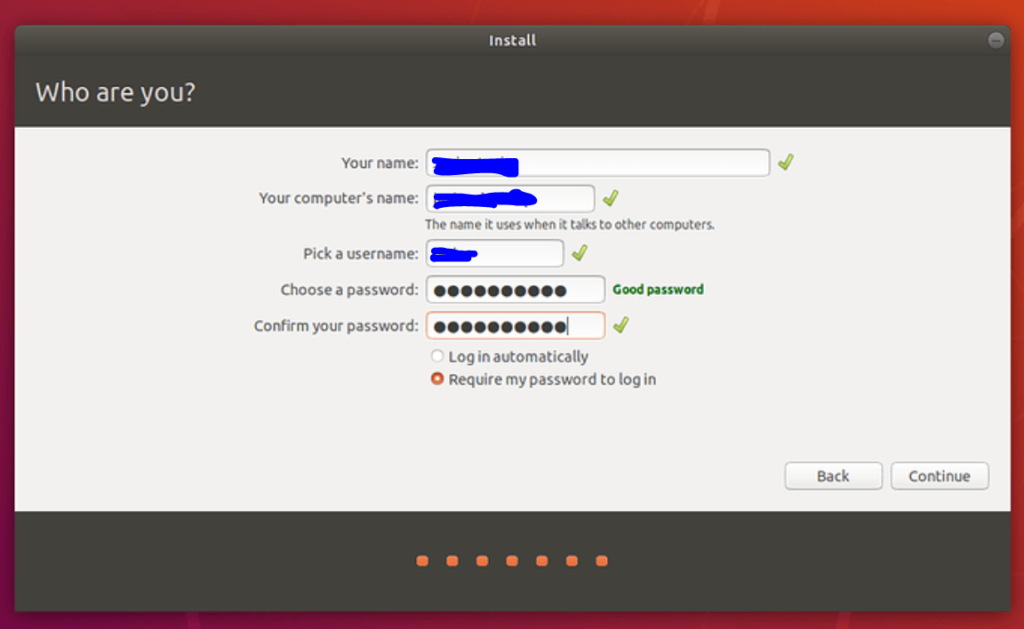
- Add login details
- Processing installation in background

- Installation complete.
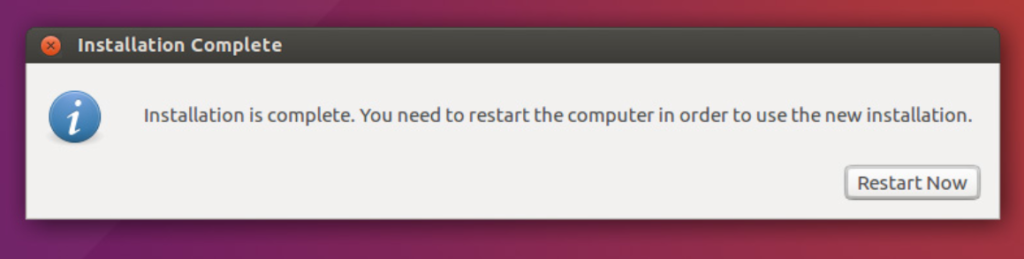
Restart your computer, and enjoy using your new OS!
Thank you!

Ramzi ARFAOUI
Ramzi is a Solutions Architect, He writes about technology, coding best practices, leadership and various topics..